tutorials
Step 8: Navigate with Flip Transition
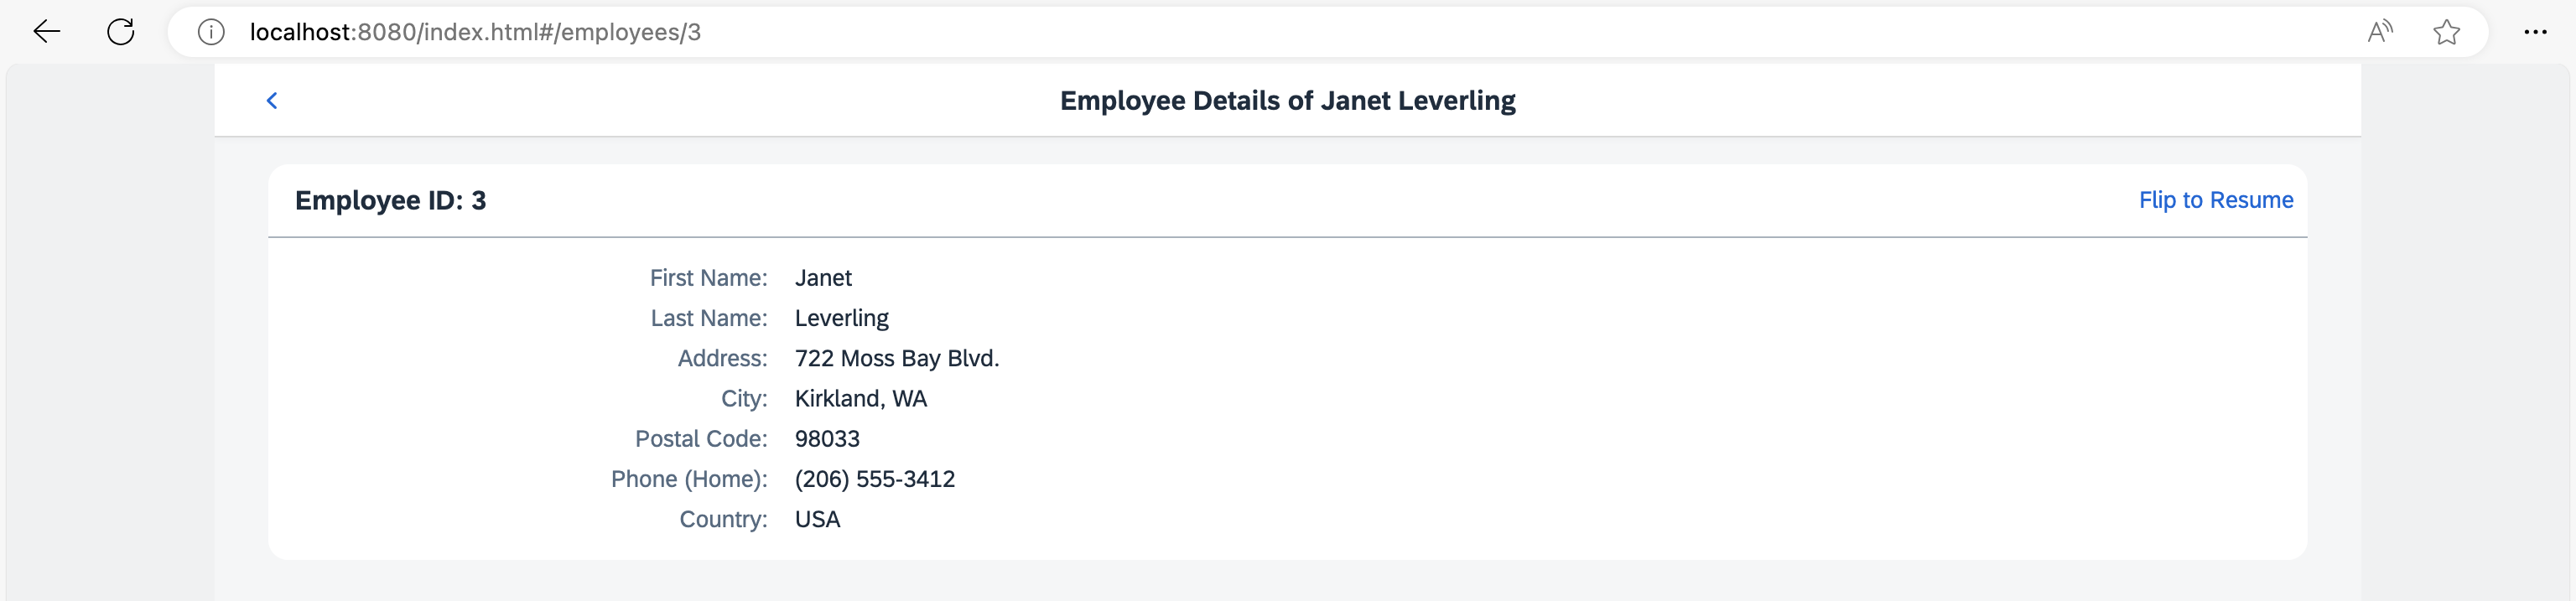
In this step, we want to illustrate how to navigate to a page with a custom transition animation. Both forward and backward navigation will use the “flip” transition but with a different direction. We will create a simple link on the Employee view that triggers a flip navigation to a page that displays the resume data of a certain employee. Pressing the Back button will navigate back to the Employee view with a reversed flip transition.
Preview
Employee Details page with Flip to Resume link
Resume page with multiple tabs

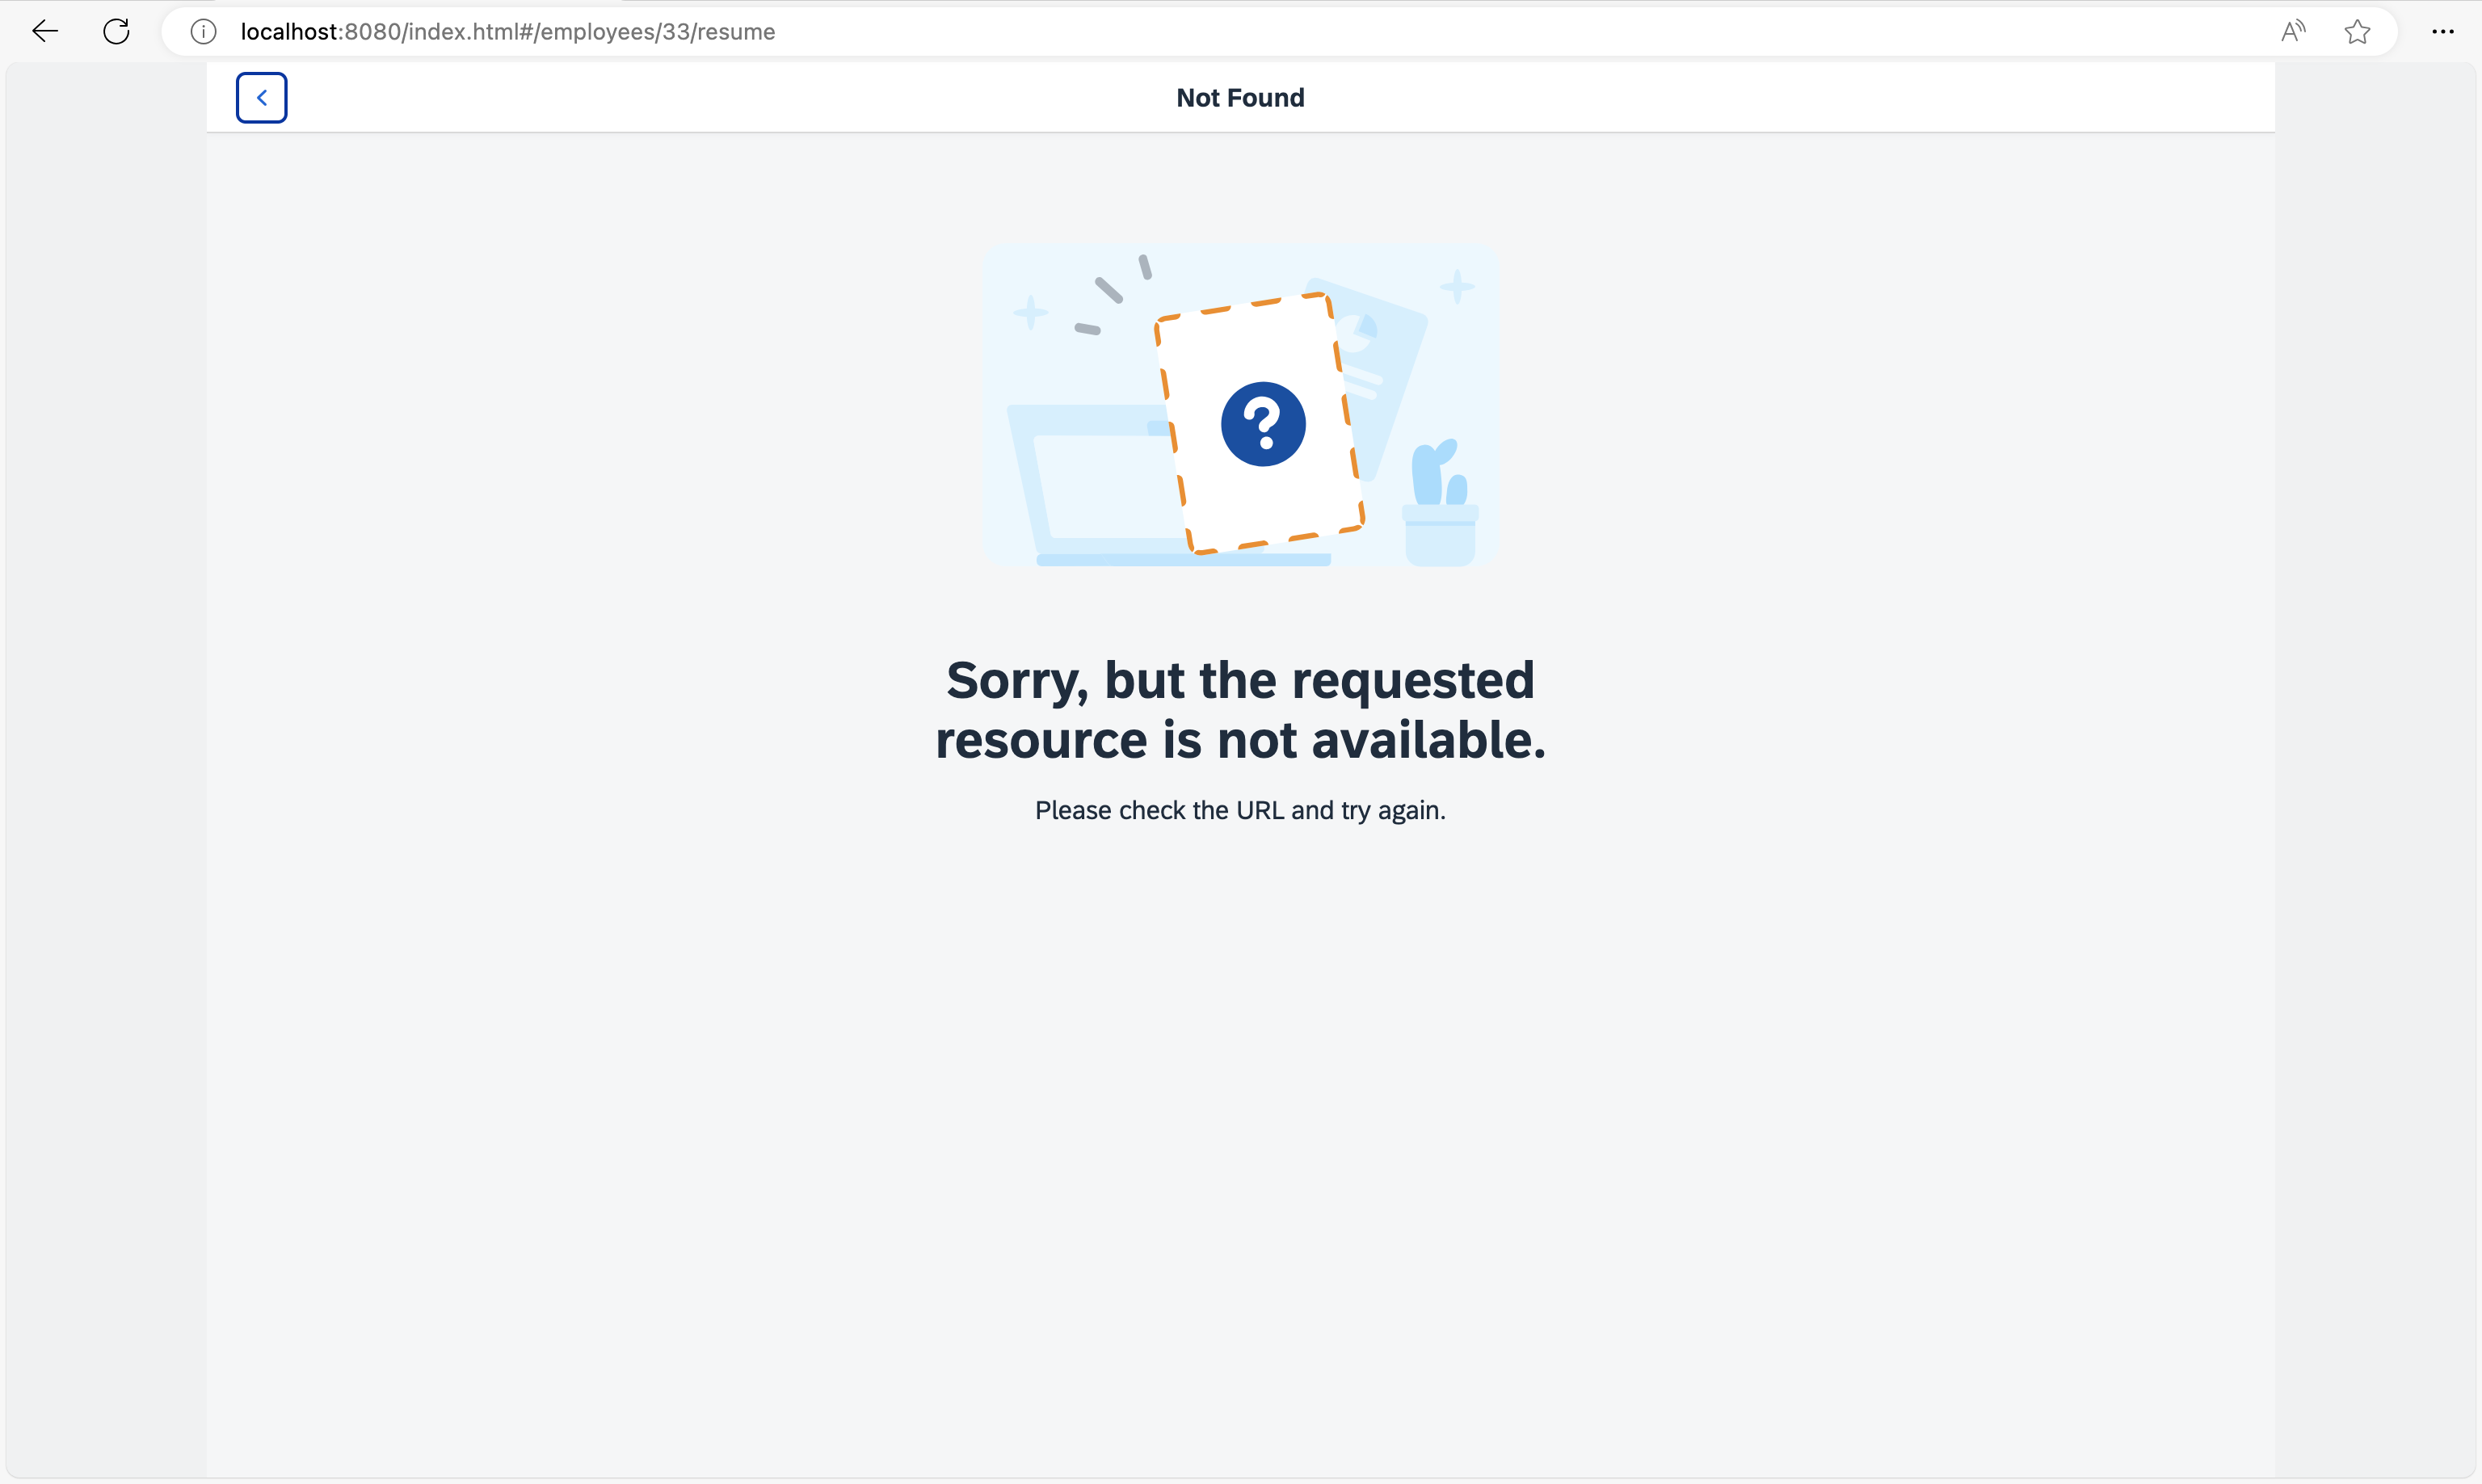
Not Found page for resume
You can view this step live: 🔗 Live Preview of Step 8.
Coding
You can download the solution for this step here: 📥 Download step 8 (TS)📥 Download step 8 (JS).
Folder structure for this step
webapp/
├── controller/
│   ├── employee/
│   │   ├── Employee.controller.ts/.js
│   │   ├── EmployeeList.controller.ts/.js
│   │   └── Resume.controller.ts/.js
│   ├── App.controller.ts/.js
│   ├── BaseController.ts/.js
│   ├── Home.controller.ts/.js
│   └── NotFound.controller.ts/.js
├── i18n/
│   └── i18n.properties
├── localService/
│   ├── mockdata/
│   │   ├── Employees.json
│   │   └── Resumes.json
│   ├── metadata.xml
│   └── mockserver.ts/.js
├── view/
│   ├── employee/
│   │   ├── Employee.view.xml
│   │   ├── EmployeeList.view.xml
│   │   ├── Resume.view.xml
│   │   └── ResumeProjects.view.xml
│   ├── App.view.xml
│   ├── Home.view.xml
│   └── NotFound.view.xml
├── Component.ts/.js
├── index.html
├── initMockServer.ts/.js
└── manifest.json
webapp/view/employee/Employee.view.xml
<mvc:View
  controllerName="ui5.tutorial.navigation.controller.employee.Employee"
  xmlns="sap.m"
  xmlns:mvc="sap.ui.core.mvc"
  xmlns:f="sap.ui.layout.form"
  xmlns:core="sap.ui.core"
  core:require="{ColumnLayout:'sap/ui/layout/form/ResponsiveGridLayout'}"
  busyIndicatorDelay="0">
  <Page
    id="employeePage"
    title="{i18n>EmployeeDetailsOf} {FirstName} {LastName}"
    titleAlignment="Center"
    showNavButton="true"
    navButtonPress=".onNavBack"
    class="sapUiResponsiveContentPadding">
    <content>
      <Panel
        id="employeePanel"
        width="auto"
        class="sapUiNoContentPadding">
        <headerToolbar>
          <Toolbar>
            <Title text="{i18n>EmployeeIDColon} {EmployeeID}" level="H2"/>
            <ToolbarSpacer />
            <Link text="{i18n>FlipToResume}" tooltip="{i18n>FlipToResume.tooltip}" press=".onShowResume"/>
          </Toolbar>
        </headerToolbar>
        <content>
          ...
        </content>
      </Panel>
    </content>
  </Page>
</mvc:View>
First we add the Flip to Resume link to the Employee Details view to trigger the navigation to the resume of the employee that is currently displayed.
webapp/controller/employee/Employee.controller.ts/.js
// webapp/controller/employee/Employee.controller.ts
import BaseController from "ui5/tutorial/navigation/controller/BaseController";
import { Route$MatchedEvent } from "sap/ui/core/routing/Route";

/**
 * @namespace ui5.tutorial.navigation.controller.employee
 */
export default class Employee extends BaseController {
	...
	private _onBindingChange(): void {
		// No data for the binding
		if (!this.getView().getBindingContext()) {
			this.getRouter().getTargets().display("notFound");
		}
	}

	public onShowResume(): void {
		const context = this.getView().getBindingContext();

		this.getRouter().navTo("employeeResume", {
			employeeId: context.getProperty("EmployeeID")
		});
	}
}
// webapp/controller/employee/Employee.controller.js
sap.ui.define(["ui5/tutorial/navigation/controller/BaseController"], function (BaseController) {
	"use strict";

	const Employee = BaseController.extend("ui5.tutorial.navigation.controller.employee.Employee", {
		onInit() {
			const router = this.getRouter();
			router.getRoute("employee").attachMatched(this._onRouteMatched, this);
		},
		_onRouteMatched(event) {
			const eventArguments = event.getParameter("arguments");
			const view = this.getView();
			view.bindElement({
				path: "/Employees(" + eventArguments.employeeId + ")",
				events: {
					change: this._onBindingChange.bind(this),
					dataRequested: () => {
						view.setBusy(true);
					},
					dataReceived: () => {
						view.setBusy(false);
					}
				}
			});
		},
		_onBindingChange() {
			// No data for the binding
			if (!this.getView().getBindingContext()) {
				this.getRouter().getTargets().display("notFound");
			}
		},
		onShowResume() {
			const context = this.getView().getBindingContext();
			this.getRouter().navTo("employeeResume", {
				employeeId: context.getProperty("EmployeeID")
			});
		}
	});
	return Employee;
});
Then we change the Employee.controller.ts file by adding the press handler onShowResume for the Flip to Resume link. The handler simply navigates to a new route employeeResume and fills the mandatory parameter employeeId with the property EmployeeID from the view’s bound context. The route employeeResume is not available yet, so we will have to add it to our routing configuration.
webapp/manifest.json
{
  "_version": "2.8.0",
  "sap.app": {
    ...
  },
  "sap.ui": {
    ...
  },
  "sap.ui5": {
    ...
    "routing": {
      "config": {
        "routerClass": "sap.m.routing.Router",
        "type": "View",
        "viewType": "XML",
        "path": "ui5.tutorial.navigation.view",
        "controlId": "app",
        "controlAggregation": "pages",
        "transition": "slide",
        "bypassed": {
          "target": "notFound"
        }
      },
      "routes": [{
        "pattern": "",
        "name": "appHome",
        "target": "home"
      }, {
        "pattern": "employees",
        "name": "employeeList",
        "target": "employees"
      }, {
        "pattern": "employees/{employeeId}",
        "name": "employee",
        "target": "employee"
      }, {
        "pattern": "employees/{employeeId}/resume",
        "name": "employeeResume",
        "target": "employeeResume"
      }],
      "targets": {
        "home": {
          "id": "home",
          "name": "Home",
          "level": 1
        },
        "notFound": {
          "id": "notFound",
          "name": "NotFound",
          "transition": "show"
        },
        "employees": {
          "id": "employees",
          "path": "ui5.tutorial.navigation.view.employee",
          "name": "EmployeeList",
          "level": 2
        },
        "employee": {
          "id": "employee",
          "path": "ui5.tutorial.navigation.view.employee",
          "name": "Employee",
          "level": 3
        },
        "employeeResume": {
          "id": "resume",
          "path": "ui5.tutorial.navigation.view.employee",
          "name": "Resume",
          "level": 4,
          "transition": "flip"
        }
      }
    }
  }
}
In the routing configuration, we add a new route employeeResume which references a target with the same name. The route’s pattern expects an {employeeId} as a mandatory parameter and ends with the static string /resume.
The target employeeResume references the view employee.Resume that we are about to create. The target’s level is 4; compared to the employee target this is one level lower again. To configure a flip navigation, we simply set the transition of our target to flip. Together with the correct level configuration this will trigger the correct forward and backward flip navigation whenever the target is displayed.
📝 Possible values for the
transitionparameter are:
slide(default)
flip
show
fadeYou can also implement your own transitions and add it to a control that extends
sap.m.NavContainer(for example,sap.m.Apporsap.m.SplitApp). For more information, see the API Reference:NavContainer.
webapp/view/employee/Resume.view.xml (New)
<mvc:View
  controllerName="ui5.tutorial.navigation.controller.employee.Resume"
  xmlns="sap.m"
  xmlns:mvc="sap.ui.core.mvc">
  <Page
    title="{i18n>ResumeOf} {FirstName} {LastName}"
    titleAlignment="Center"
    id="employeeResumePage"
    showNavButton="true"
    navButtonPress=".onNavBack">
    <content>
      <IconTabBar
        id="iconTabBar"
        headerBackgroundDesign="Transparent"
        class="sapUiResponsiveContentPadding"
        binding="{Resume}">
        <items>
          <IconTabFilter id="infoTab" text="{i18n>tabInfo}" key="Info">
            <Text text="{Information}"/>
          </IconTabFilter>
          <IconTabFilter id="projectsTab" text="{i18n>tabProjects}" key="Projects">
            <mvc:XMLView viewName="ui5.tutorial.navigation.view.employee.ResumeProjects"></mvc:XMLView>
          </IconTabFilter>
          <IconTabFilter id="hobbiesTab" text="{i18n>tabHobbies}" key="Hobbies">
            <Text text="{Hobbies}"/>
          </IconTabFilter>
          <IconTabFilter id="notesTab" text="{i18n>tabNotes}" key="Notes">
            <Text text="{Notes}"/>
          </IconTabFilter>
        </items>
      </IconTabBar>
    </content>
  </Page>
</mvc:View>
Create a file Resume.view.xml inside the webapp/view/employee folder. The view uses an IconTabBar to display the resume data. Therefore, its binding attribute is set to {Resume}.
In the IconTabBar we display four tabs. Three of them simply use a Text control to display the data from the service. The Projects tab uses a nested XML view to display the projects of the employee. OpenUI5 takes care of loading the XML view automatically when the user navigates to the Resume page.
webapp/controller/employee/Resume.controller.ts/.js (New)
// webapp/controller/employee/Resume.controller.ts
import BaseController from "ui5/tutorial/navigation/controller/BaseController";
import { Route$MatchedEvent } from "sap/ui/core/routing/Route";

/**
 * @namespace ui5.tutorial.navigation.controller.employee
 */
export default class Resume extends BaseController {

	public onInit(): void {
		const router = this.getRouter();

		router.getRoute("employeeResume").attachMatched(this._onRouteMatched, this);
	}

	private _onRouteMatched(event: Route$MatchedEvent): void {
		const eventArguments = (<any> event.getParameter("arguments"));
		const view = this.getView();

		view.bindElement({
			path: "/Employees(" + eventArguments.employeeId + ")",
			events: {
				change: this._onBindingChange.bind(this),
				dataRequested: () => {
					view.setBusy(true);
				},
				dataReceived: () => {
					view.setBusy(false);
				}
			}
		});
	}

	private _onBindingChange(): void {
		// No data for the binding
		if (!this.getView().getBindingContext()) {
			this.getRouter().getTargets().display("notFound");
		}
	}
}
// webapp/controller/employee/Resume.controller.js
sap.ui.define(["ui5/tutorial/navigation/controller/BaseController"], function (BaseController) {
	"use strict";

	const Resume = BaseController.extend("ui5.tutorial.navigation.controller.employee.Resume", {
		onInit() {
			const router = this.getRouter();
			router.getRoute("employeeResume").attachMatched(this._onRouteMatched, this);
		},
		_onRouteMatched(event) {
			const eventArguments = event.getParameter("arguments");
			const view = this.getView();
			view.bindElement({
				path: "/Employees(" + eventArguments.employeeId + ")",
				events: {
					change: this._onBindingChange.bind(this),
					dataRequested: () => {
						view.setBusy(true);
					},
					dataReceived: () => {
						view.setBusy(false);
					}
				}
			});
		},
		_onBindingChange() {
			// No data for the binding
			if (!this.getView().getBindingContext()) {
				this.getRouter().getTargets().display("notFound");
			}
		}
	});
	return Resume;
});
Create a file Resume.controller.ts in the webapp/controller/employee folder. In this controller, we make sure to bind the view to the correct employee whenever the employeeResume route has matched. We have already used this approach in the previous step so you should be able to recognize the building blocks in the code above. Again, in case the user cannot be found we display the notFound target.
webapp/view/employee/ResumeProjects.view.xml (New)
<mvc:View xmlns="sap.m" xmlns:mvc="sap.ui.core.mvc">
  <Text text="{Projects}"/>
</mvc:View>
Create a file ResumeProjects.view.xml in the webapp/view/employee folder. This view does not have a controller as we don’t need it. It just displays a Text control with the projects text of the selected employee. It illustrates that using nested views works just fine in combination with navigation and routing in OpenUI5.
📝 For more complex applications, the performance is significantly increased if parts of the UI are only loaded when the user is actively selecting it. In this example, the view is always loaded even though the user never decided to display the project information. In the next steps, we will extend the UI so that the content is loaded “lazy” by OpenUI5 only when the filter item is clicked. The back-end service will fetch the data only on request and the UI will only have to be updated with the selected data instead of loading all data.
webapp/i18n/i18n.properties
...
ResumeOf=Resume of
tabInfo=Info
tabProjects=Projects
tabHobbies=Hobbies
tabNotes=Notes
FlipToResume=Flip to Resume
FlipToResume.tooltip=See the resume of this employee
Add the new texts to the i18n.properties file.
You can go to webapp/index.html#/employees/3 and click on the Flip to Resume link to be redirected with a nice flip transition to the employee’s resume. The back navigation uses a reverse flip navigation to get back to the Employee Details page. You can also directly navigate to webapp/index.html#/employees/3/resume or webapp/index.html#/employees/33/resume to see what happens.
Next: Step 9: Allow Bookmarkable Tabs with Optional Query Parameters
Previous: Step 7: Navigate to Routes with Mandatory Parameters