tutorials
Step 7: Navigate to Routes with Mandatory Parameters
In this step, we implement a feature that allows the user to click on an employee in the list to see additional details of the employee. A route pattern can have one or more mandatory parameters to identify objects in an app.
The detail page has to read the ID of the employee from the URL to fetch and display the employee data from the server. If the employee was not found, for example, because an invalid employee ID was passed on, we want to inform the user by displaying the notFound target. Of course, the back navigation has to work as well for this page.
Preview
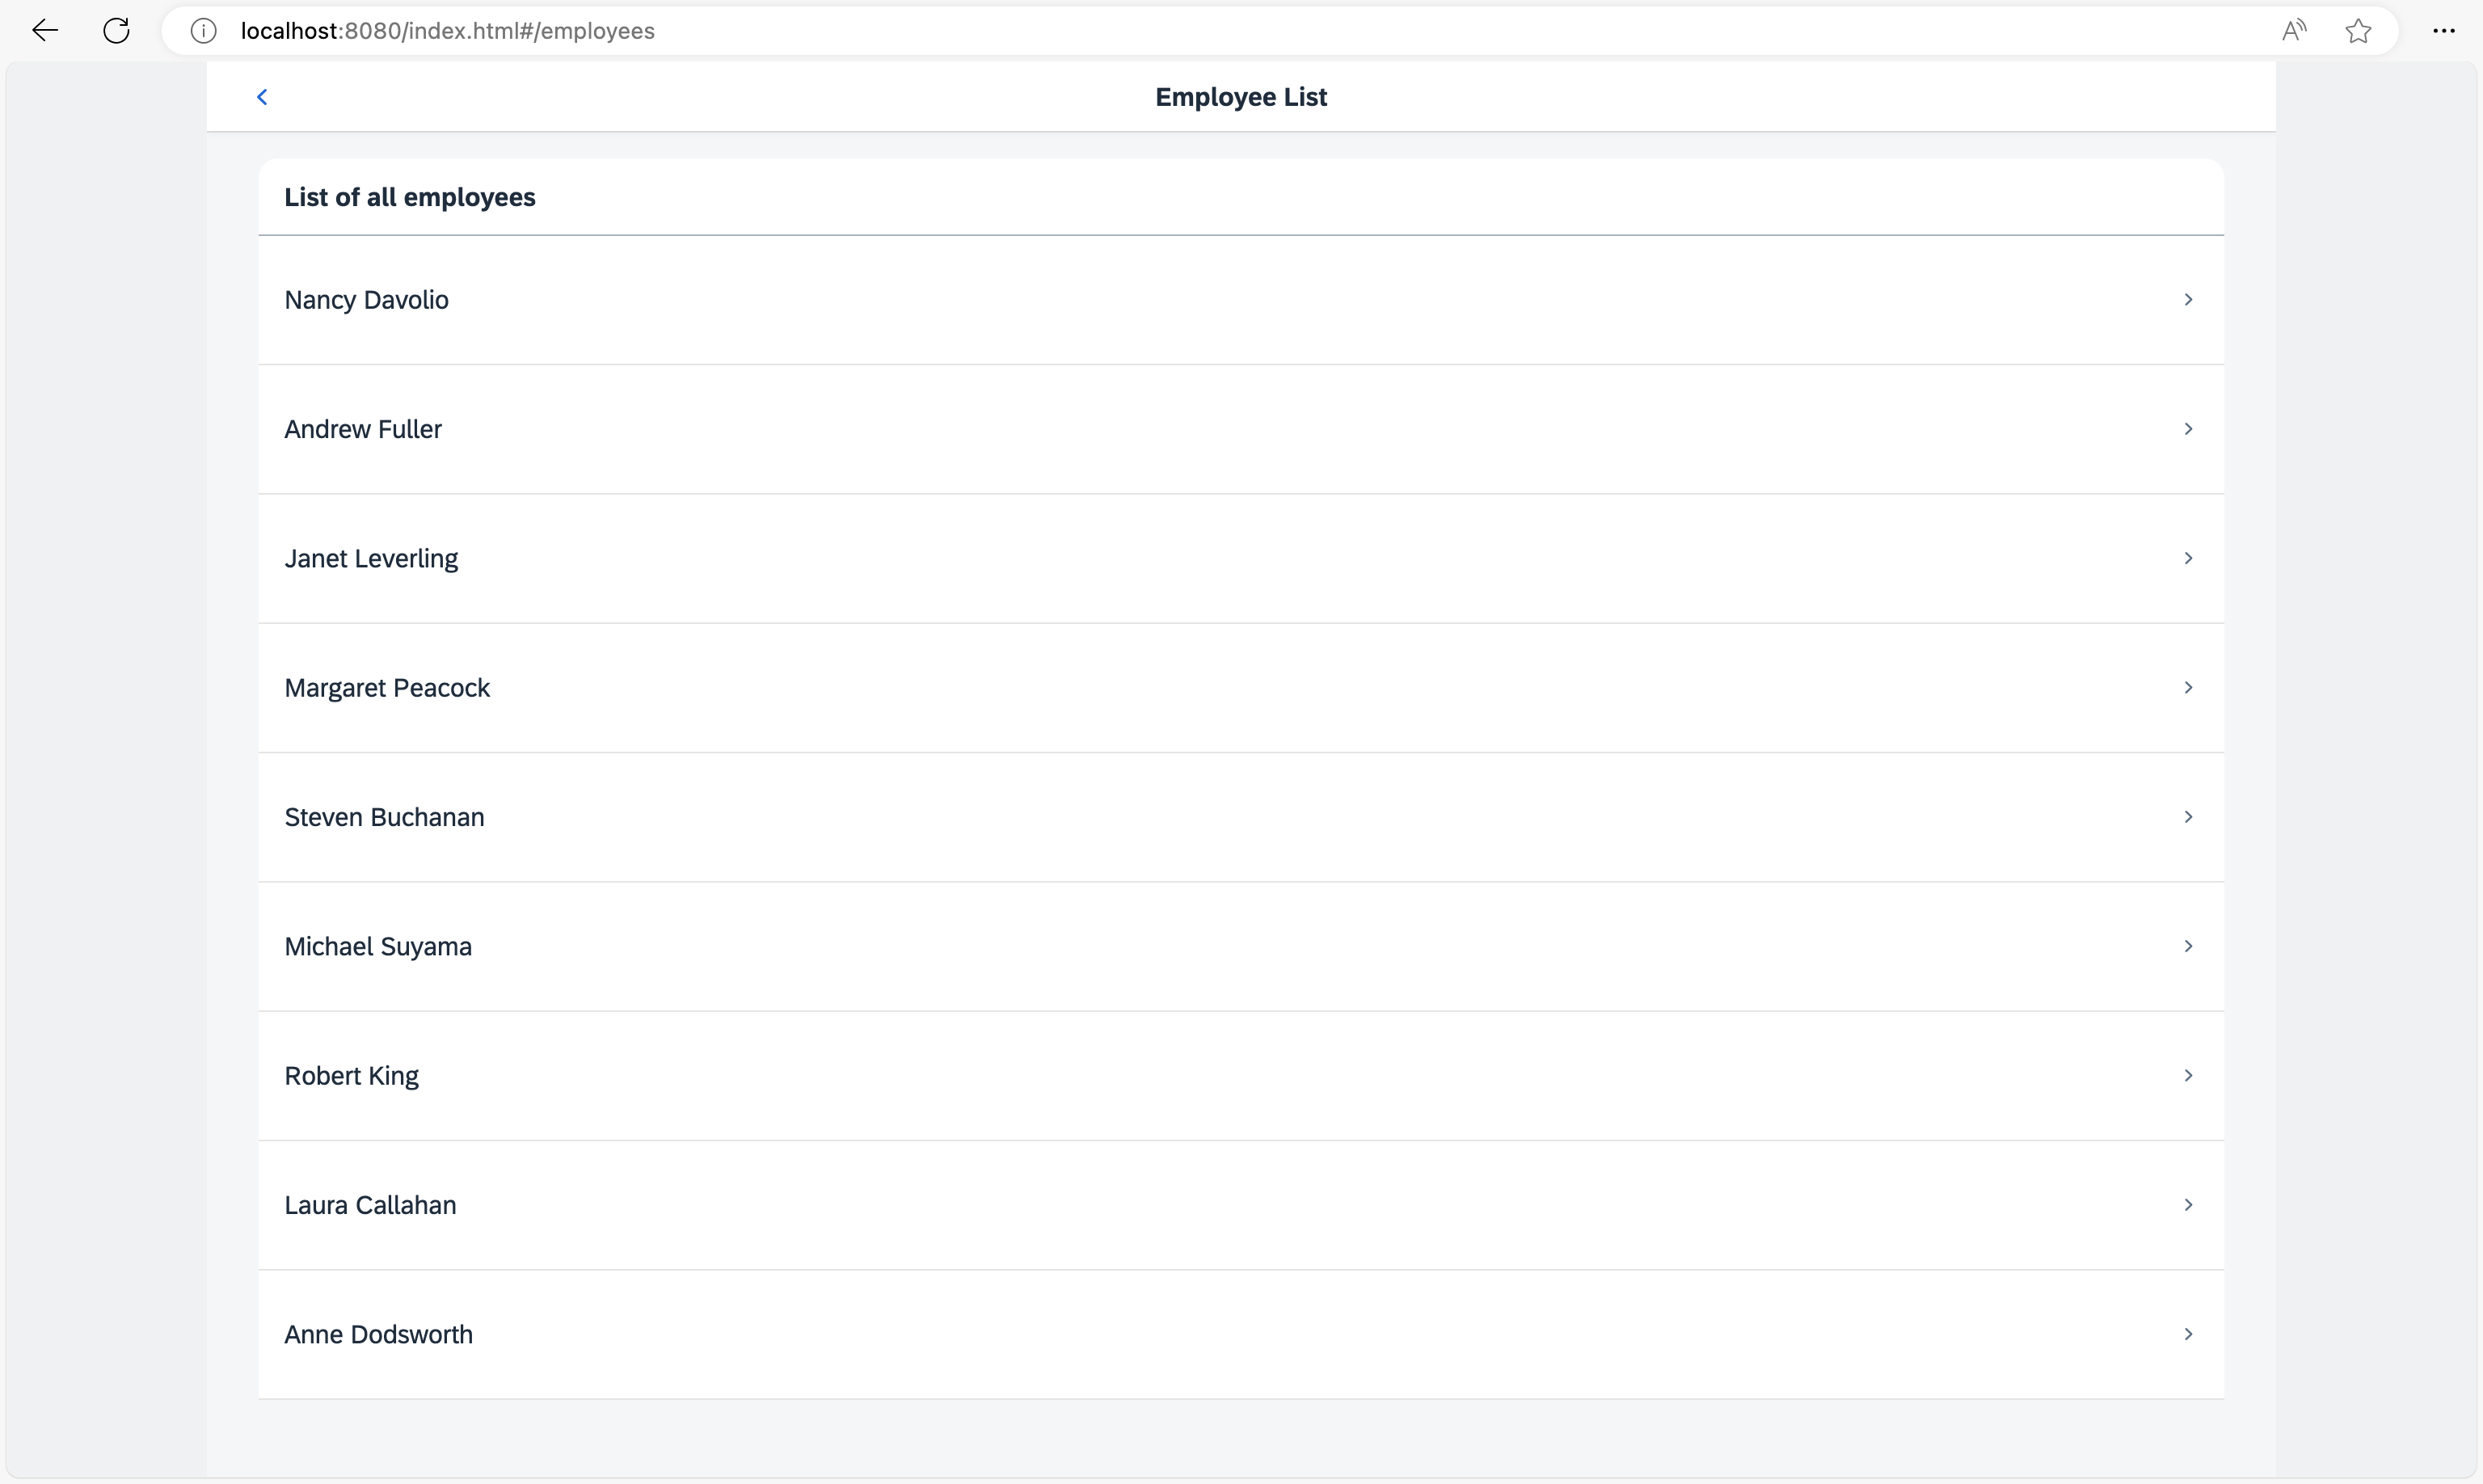
Employee list with navigation option for items
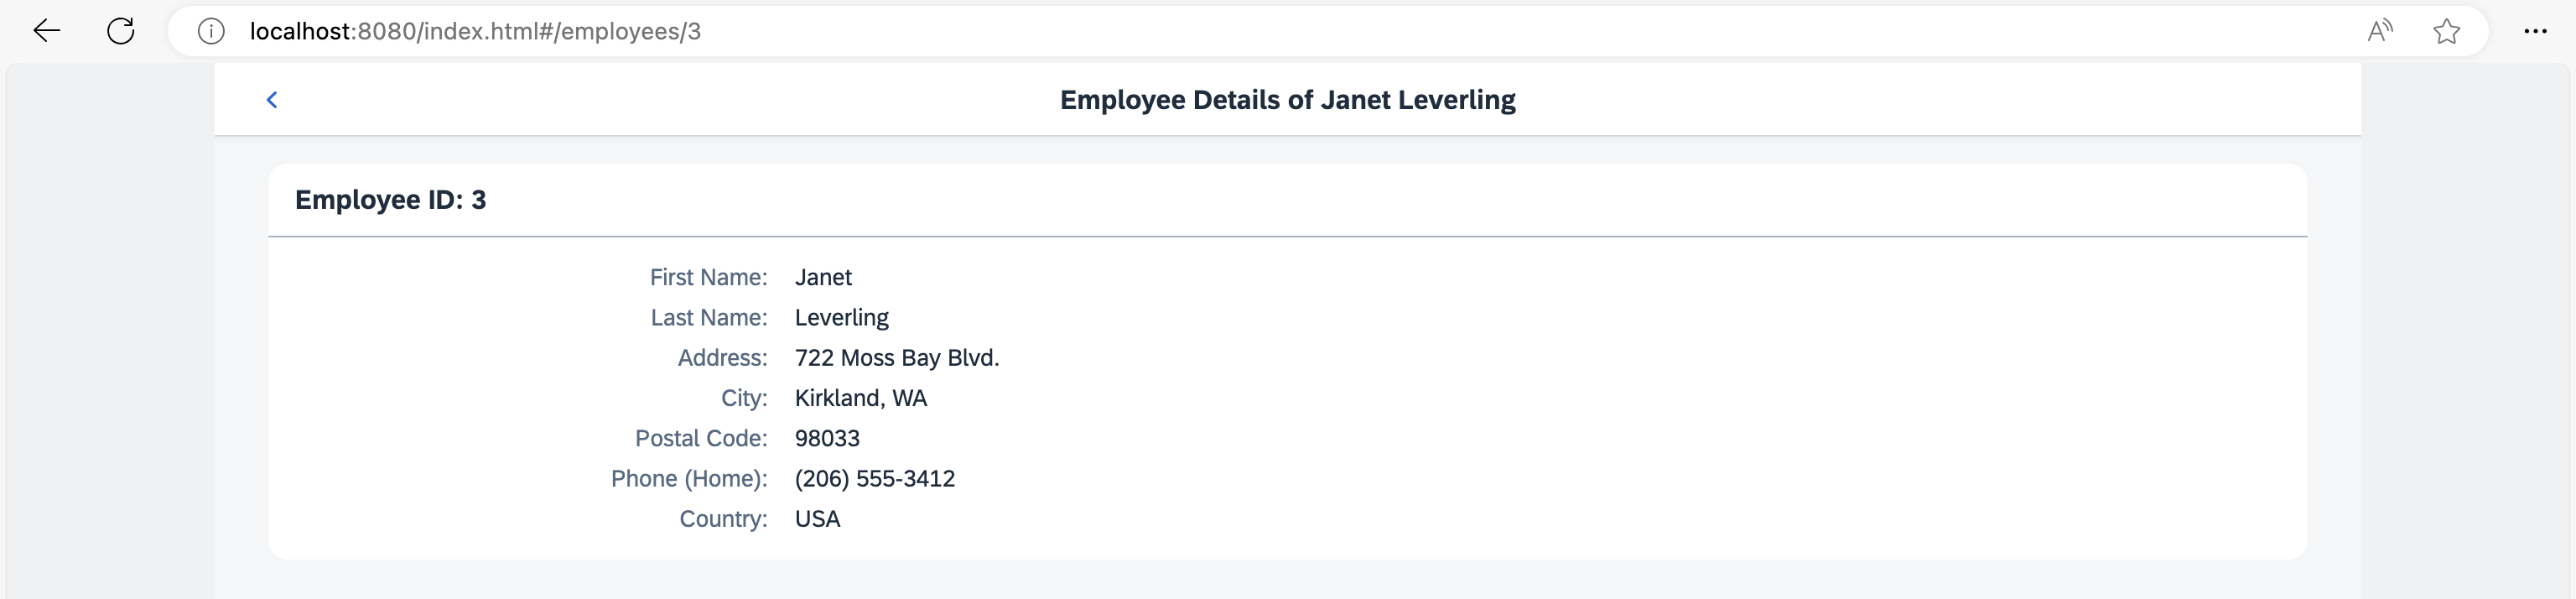
Detail Page for a selected employee
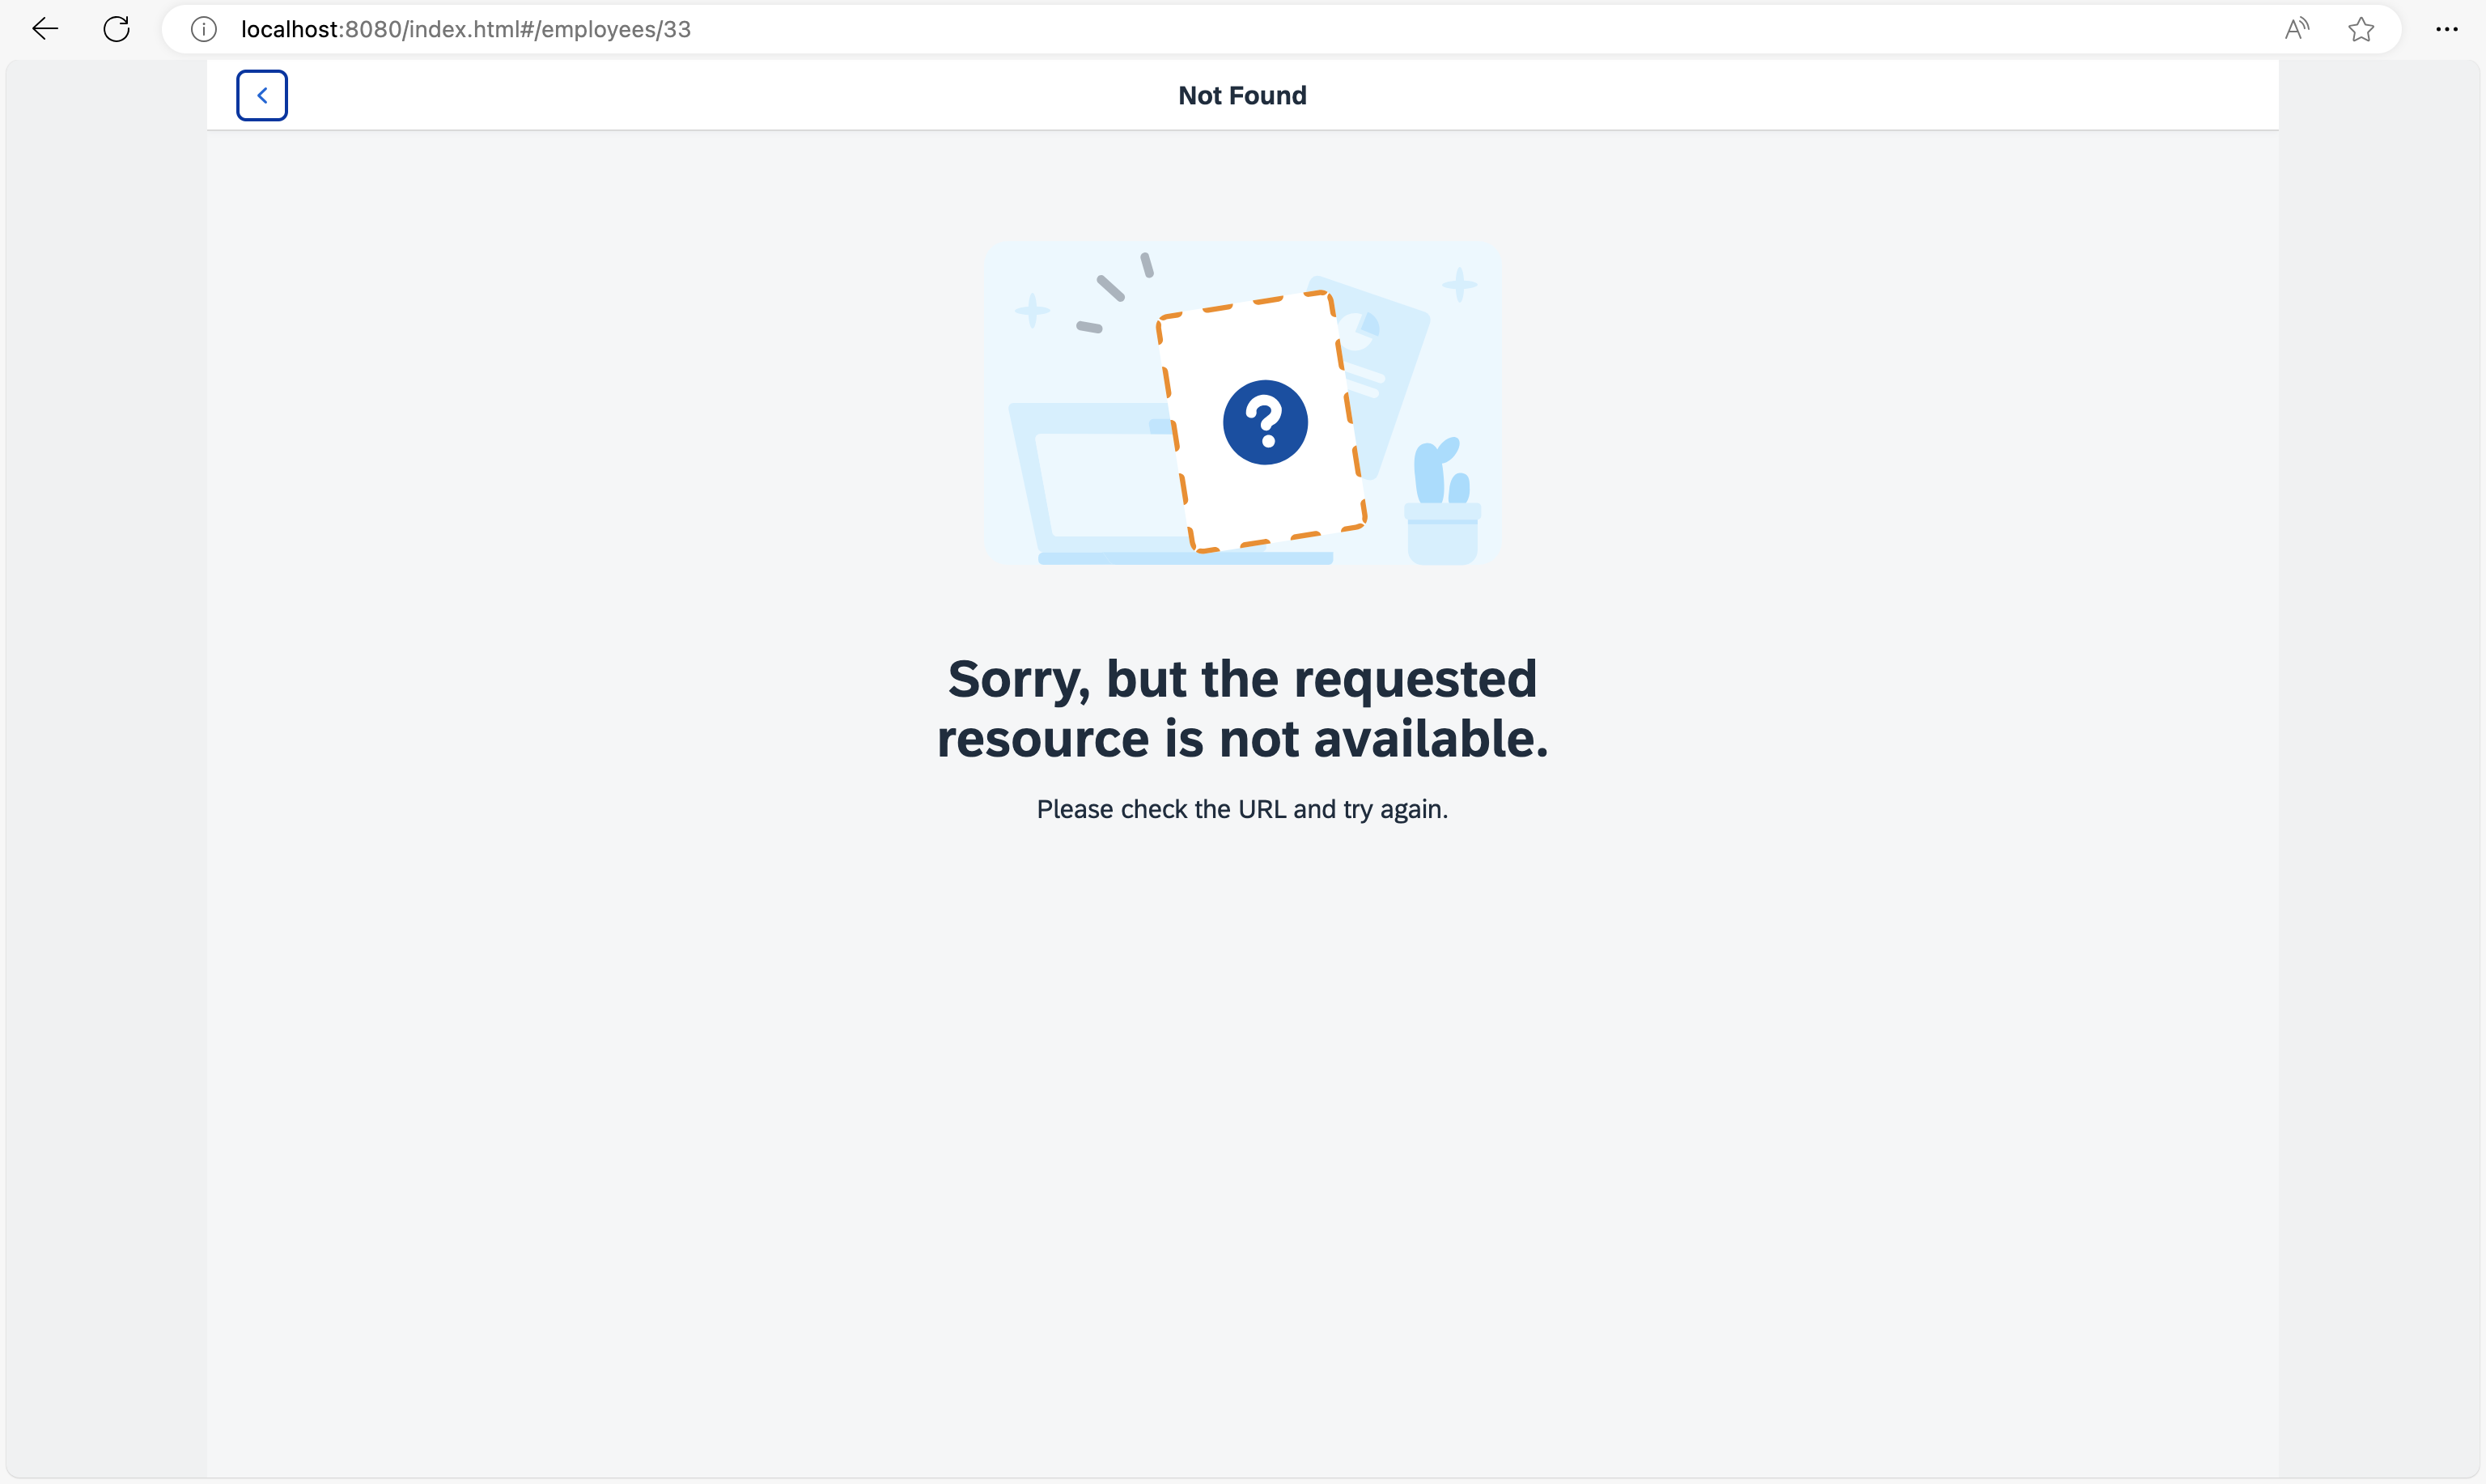
Not Found page for an invalid EmployeeID
You can view this step live: 🔗 Live Preview of Step 7.
Coding
You can download the solution for this step here: 📥 Download step 7 (TS)📥 Download step 7 (JS).
Folder structure for this step
webapp/
├── controller/
│   ├── employee/
│   │   ├── Employee.controller.ts/.js
│   │   └── EmployeeList.controller.ts/.js
│   ├── App.controller.ts/.js
│   ├── BaseController.ts/.js
│   ├── Home.controller.ts/.js
│   └── NotFound.controller.ts/.js
├── i18n/
│   └── i18n.properties
├── localService/
│   ├── mockdata/
│   │   ├── Employees.json
│   │   └── Resumes.json
│   ├── metadata.xml
│   └── mockserver.ts/.js
├── view/
│   ├── employee/
│   │   ├── Employee.view.xml
│   │   └── EmployeeList.view.xml
│   ├── App.view.xml
│   ├── Home.view.xml
│   └── NotFound.view.xml
├── Component.ts/.js
├── index.html
├── initMockServer.ts/.js
└── manifest.json
webapp/manifest.json
{
  "_version": "2.8.0",
  "sap.app": {
    ...
  },
  "sap.ui": {
    ...
  },
  "sap.ui5": {
    ...
    "routing": {
      "config": {
        "routerClass": "sap.m.routing.Router",
        "type": "View",
        "viewType": "XML",
        "path": "ui5.tutorial.navigation.view",
        "controlId": "app",
        "controlAggregation": "pages",
        "transition": "slide",
        "bypassed": {
          "target": "notFound"
        }
      },
      "routes": [{
        "pattern": "",
        "name": "appHome",
        "target": "home"
      }, {
        "pattern": "employees",
        "name": "employeeList",
        "target": "employees"
      }, {
        "pattern": "employees/{employeeId}",
        "name": "employee",
        "target": "employee"
      }],
      "targets": {
        "home": {
          "id": "home",
          "name": "Home",
          "level": 1
        },
        "notFound": {
          "id": "notFound",
          "name": "NotFound",
          "transition": "show"
        },
        "employees": {
          "id": "employeeList",
          "path": "ui5.tutorial.navigation.view.employee",
          "name": "EmployeeList",
          "level": 2
        },
        "employee": {
          "id": "employee",
          "path": "ui5.tutorial.navigation.view.employee",
          "name": "Employee",
          "level": 3
        }
      }
    }
  }
}
From our data model (webapp/localService/metadata.xml or webapp/localService/mockdata/Employees.json), you can see that each employee entity is identified by an EmployeeID. We define a new route that expects a mandatory employeeId in its pattern to address an employee. Unlike the patterns we used before, this pattern has a dynamic part. We create a new route employee and use employees/{employeeId} as its pattern.
The {employeeId} part of the pattern is a mandatory parameter as indicated by the curly brackets. The hash that contains an actual employee ID is matched against that pattern at runtime.
The following hashes would match in our case: employees/2, employees/7, employees/anInvalidId, and so on. However, the hash employees/ will not match as it does not contain an ID at all. The target of our route is employee. We create the target employee with level 3. With that, we make sure that we have the correct slide animation direction. Instead of specifiying the path property it is also possible, to add the additional folder structure as part of the name property e.g. "name": "employee.Employee". For consistency reasons we decided to provide here the path property.
Next, we have to create the view employees.Employee; for better illustration the path is not specified this time.
webapp/view/employee/Employee.view.xml (New)
<mvc:View
  controllerName="ui5.tutorial.navigation.controller.employee.Employee"
  xmlns="sap.m"
  xmlns:mvc="sap.ui.core.mvc"
  xmlns:f="sap.ui.layout.form"
  xmlns:core="sap.ui.core"
  core:require="{ColumnLayout:'sap/ui/layout/form/ResponsiveGridLayout'}"
  busyIndicatorDelay="0">
  <Page
    id="employeePage"
    title="{i18n>EmployeeDetailsOf} {FirstName} {LastName}"
    titleAlignment="Center"
    showNavButton="true"
    navButtonPress=".onNavBack"
    class="sapUiResponsiveContentPadding">
    <content>
      <Panel
        id="employeePanel"
        width="auto"
        class="sapUiNoContentPadding">
        <headerToolbar>
          <Toolbar>
            <Title text="{i18n>EmployeeIDColon} {EmployeeID}" level="H2"/>
            <ToolbarSpacer />
          </Toolbar>
        </headerToolbar>
        <content>
          <f:SimpleForm
            editable="false"
            layout="ResponsiveGridLayout"
            labelSpanL="3" labelSpanM="3" emptySpanL="4" emptySpanM="4"
            columnsL="1" columnsM="1">
            <f:content>
              <Label text="{i18n>FirstName}"/>
              <Text text="{FirstName}"/>
              <Label text="{i18n>LastName}"/>
              <Text text="{LastName}"/>
              <Label text="{i18n>Address}"/>
              <Text text="{Address}"/>
              <Label text="{i18n>City}"/>
              <Text text="{City}, {Region}"/>
              <Label text="{i18n>PostalCode}"/>
              <Text text="{PostalCode}"/>
              <Label text="{i18n>PhoneHome}"/>
              <Text text="{HomePhone}"/>
              <Label text="{i18n>Country}"/>
              <Text text="{Country}"/>
            </f:content>
          </f:SimpleForm>
        </content>
      </Panel>
    </content>
  </Page>
</mvc:View>
Create the file Employee.view.xml inside the webapp/view/employee folder. This employee view displays master data for an employee in a panel with a SimpleForm control: first name, last name and so on. The data comes from a relative data binding that is set on the view level as we can see in the controller later. As we are focusing on the navigation aspects in this tutorial, we won’t go into detail on the controls of the view. Just copy the code.
📝 Requiring
sap/ui/layout/form/ResponsiveGridLayoutis needed because we use theResponsiveGridLayoutaslayoutfor thesap/ui/layout/form/SimpleForm. Thesap/ui/layout/form/SimpleFormrequires the configured layout, in case it’s not done by the consumer but this may cause an additional rendering cycle if rendering starts before the layout finished loading.
webapp/controller/employee/Employee.controller.ts/.js (New)
// webapp/controller/employee/Employee.controller.ts
import BaseController from "ui5/tutorial/navigation/controller/BaseController";
import { Route$MatchedEvent } from "sap/ui/core/routing/Route";

/**
 * @namespace ui5.tutorial.navigation.controller.employee
 */
export default class Employee extends BaseController {

	public onInit(): void {
		const router = this.getRouter();

		router.getRoute("employee").attachMatched(this._onRouteMatched, this);
	}

	private _onRouteMatched(event: Route$MatchedEvent): void {
		const eventArguments = (<any> event.getParameter("arguments"));
		const view = this.getView();

		view.bindElement({
			path: "/Employees(" + eventArguments.employeeId + ")",
			events: {
				change: this._onBindingChange.bind(this),
				dataRequested: () => {
					view.setBusy(true);
				},
				dataReceived: () => {
					view.setBusy(false);
				}
			}
		});
	}

	private _onBindingChange(): void {
		// No data for the binding
		if (!this.getView().getBindingContext()) {
			this.getRouter().getTargets().display("notFound");
		}
	}
}
// webapp/controller/employee/Employee.controller.js
sap.ui.define(["ui5/tutorial/navigation/controller/BaseController"], function (BaseController) {
	"use strict";

	const Employee = BaseController.extend("ui5.tutorial.navigation.controller.employee.Employee", {
		onInit() {
			const router = this.getRouter();
			router.getRoute("employee").attachMatched(this._onRouteMatched, this);
		},
		_onRouteMatched(event) {
			const eventArguments = event.getParameter("arguments");
			const view = this.getView();
			view.bindElement({
				path: "/Employees(" + eventArguments.employeeId + ")",
				events: {
					change: this._onBindingChange.bind(this),
					dataRequested: () => {
						view.setBusy(true);
					},
					dataReceived: () => {
						view.setBusy(false);
					}
				}
			});
		},
		_onBindingChange() {
			// No data for the binding
			if (!this.getView().getBindingContext()) {
				this.getRouter().getTargets().display("notFound");
			}
		}
	});
	return Employee;
});
Now we create the file Employee.controller.ts in the webapp/controller/employee folder. In this controller file, we want to detect which employee shall be displayed in order to show the employee’s data in the view. Therefore, we query the router for the route employee and attach a private event listener function _onRouteMatched to the matched event of this route.
In the event handler, we can access the arguments parameter from the event parameter that contains all parameters of the pattern. Since this listener is only called when the route is matched, we can be sure that the mandatory parameter employeeId is always available as a key in arguments event parameter; otherwise the route would not have matched. The name of the mandatory parameter employeeId correlates to the {employeeId} from our pattern definition of the route employee and thus to the value in the URL.
In _onRouteMatched we call bindElement() on the view to make sure that the data of the specified employee is available in the view and its controls. The ODataModel will handle the necessary data requests to the back end in the background. While the data is loading, it would be nice to show a busy indicator by simply setting the view to busy. Therefore, we pass an events object to bindElement() to listen to the events dataRequested and dataReceived. The attached functions handle the busy state by calling view.setBusy(true) and view.setBusy(false) respectively.
We also add an event handler to the change event as a private function _onBindingChange. It checks if the data could be loaded by querying the binding context of the view. As seen in the previous steps, we will display the notFound target if the data could not be loaded.
📝 Instead of calling
attachMatched(…)on a route we could also callattachRouteMatched(…)directly on the router. However, the event for the latter is fired for every matched event of any route in the whole app. We don’t use the latter because we would have to implement an additional check for making sure that current route is the route that has been matched. We want to avoid this extra overhead and register on the route instead.
webapp/view/employee/EmployeeList.view.xml
<mvc:View
  controllerName="ui5.tutorial.navigation.controller.employee.EmployeeList"
  xmlns="sap.m"
  xmlns:mvc="sap.ui.core.mvc">
  <Page
    id="employeeListPage"
    title="{i18n>EmployeeList}"
    titleAlignment="Center"
    showNavButton="true"
    navButtonPress=".onNavBack"
    class="sapUiResponsiveContentPadding">
    <content>
      <List id="employeeList" headerText="{i18n>ListOfAllEmployees}" items="{/Employees}">
        <items>
          <StandardListItem
            title="{FirstName} {LastName}"
            iconDensityAware="false"
            iconInset="false"
            type="Navigation"
            press=".onListItemPressed"/>
        </items>
      </List>
    </content>
  </Page>
</mvc:View>
It’s time to change the EmployeeList view so that we can navigate to the new view. We set the attribute type of the StandardListItem template to Navigation to make the item clickable and indicate a navigation feature to the user. Additionally, we add an event handler for the press event that is called when the user clicks on an employee list item.
webapp/controller/employee/EmployeeList.controller.ts/.js
// webapp/controller/employee/EmployeeList.controller.ts
import StandardListItem from "sap/m/StandardListItem";
import BaseController from "ui5/tutorial/navigation/controller/BaseController";
import Event from "sap/ui/base/Event";

/**
 * @namespace ui5.tutorial.navigation.controller.employee
 */
export default class EmployeeList extends BaseController {

  public onListItemPressed(event: Event): void {
	const listItem = (<StandardListItem> event.getSource());
	const context = listItem.getBindingContext();

	this.getRouter().navTo("employee", {
	  employeeId: context.getProperty("EmployeeID")
	});
  }
}
// webapp/controller/employee/EmployeeList.controller.js
sap.ui.define(["ui5/tutorial/navigation/controller/BaseController"], function (BaseController) {
	"use strict";

	const EmployeeList = BaseController.extend("ui5.tutorial.navigation.controller.employee.EmployeeList", {
		onListItemPressed(event) {
			const listItem = event.getSource();
			const context = listItem.getBindingContext();
			this.getRouter().navTo("employee", {
				employeeId: context.getProperty("EmployeeID")
			});
		}
	});
	return EmployeeList;
});
Finally, we attach the handler function onListItemPressed to the press event to the EmployeeList controller. In the handler, we determine the EmployeeID of the list item by querying the binding context and accessing the property EmployeeID from the data model.
Then we navigate to the employee route and pass a configuration object on to the navTo method containing the mandatory parameter employeeId filled with the correct EmployeeID. The router always makes sure that mandatory parameters as specified in the route’s pattern are set; otherwise an error is thrown.
webapp/i18n/i18n.properties
...
EmployeeDetailsOf=Employee Details of
EmployeeIDColon=Employee ID:
FirstName=First Name
LastName=Last Name
Address=Address
City=City
PostalCode=Postal Code
PhoneHome=Phone (Home)
Country=Country
Add the new texts to the i18n.properties file.
That’s it. You can go to webapp/index.html#/employees and click on any list item to be redirected to corresponding employee’s details. Check also what happens when you directly navigate to the following files:
-
webapp/index.html#/employees/3 -
webapp/index.html#/employees/33
Next: Step 8: Navigate with Flip Transition
Previous: Step 6: Navigate to Routes with Hard-Coded Patterns