tutorials
Step 1: Getting Started — Claude Code & the UI5 Plugin (10 min)
| Back to Overview | Next: Step 2 — Create & enhance a JS app → |
In this step you install Claude Code, add the UI5 plugin, and confirm that the agent is grounded — able to pull real answers from the official OpenUI5 API reference through the UI5 MCP server. Everything in the rest of the tutorial builds on this.
📝 The tutorial uses Claude Code for all commands and examples. If you prefer GitHub Copilot CLI, the same UI5 plugin is available via
copilot plugin install ui5@awesome-copilot— adapt the CLI commands accordingly.
1.1 Install Claude Code
Claude Code requires a Pro, Max, Ultra, Team, or Enterprise claude.ai account (or a Console API key). The free plan does not include Claude Code access.
Install the CLI as a global npm package (requires Node.js 22 or later):
npm install -g @anthropic-ai/claude-code
📝 Do not run this with
sudo. Claude Code updates itself without elevated privileges, and asudoinstall breaks that.
Verify the install:
claude --version
A working installation prints a version number such as 2.1.211 (Claude Code).
Log in: Run claude for the first time and follow the browser prompts to authenticate with
your claude.ai account. If you have an ANTHROPIC_API_KEY environment variable set, Claude Code
will offer to use it instead.
claude
1.2 Verify the prerequisites
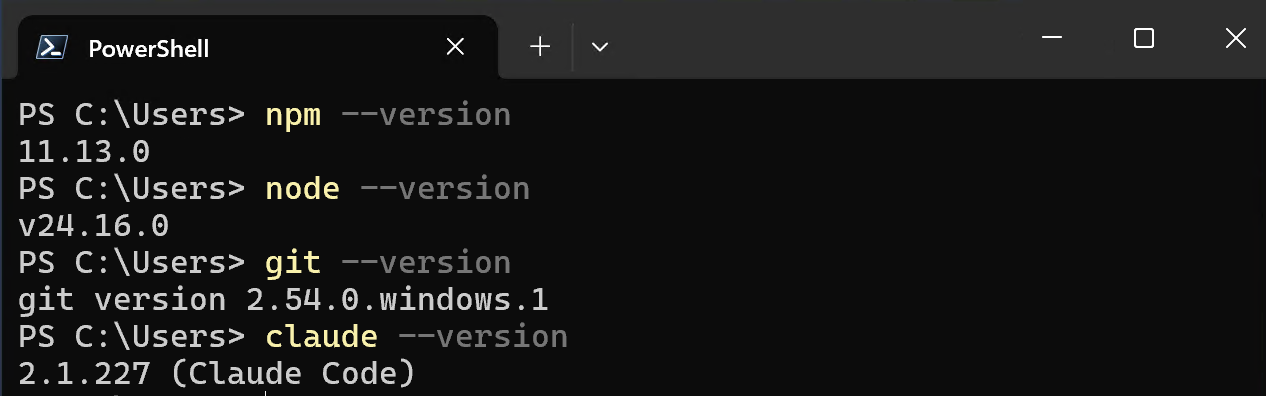
Once logged in, confirm the rest of the toolchain is in place:
npm --version
node --version   # v22 or newer
git --version
claude --version
1.3 Install the UI5 plugin
The UI5 plugin bundles the UI5 MCP server (API reference, linter, app scaffolding) and the UI5 best-practice skills:
claude plugin install ui5@claude-plugins-official
📝 In rare cases the marketplace may be out of date and the plugin cannot be found. If that happens, refresh the marketplace first:
claude plugin marketplace update claude-plugins-officialThen re-run the install command above.
1.4 Launch Claude Code
From a project directory where you want to work:
claude
📝 First launch in a folder: the trust prompt. The first time you start Claude Code in a directory it hasn’t seen before, it asks you to confirm you trust the files there (it may read and run them). This is part of staying in control: you decide what the agent is allowed to touch. For this tutorial, you created the folder yourself, so confirm to proceed. Claude remembers the choice per folder, so you won’t be asked again for this one, but you will see it again each time a later step has you start Claude Code in a new folder.
💡 Task: Confirm the UI5 MCP server tools are available. Ask Claude Code:
Which UI5 MCP server tools do you have available?You should see tools such as
get_guidelines,get_api_reference,run_ui5_linter,create_ui5_appand many more.
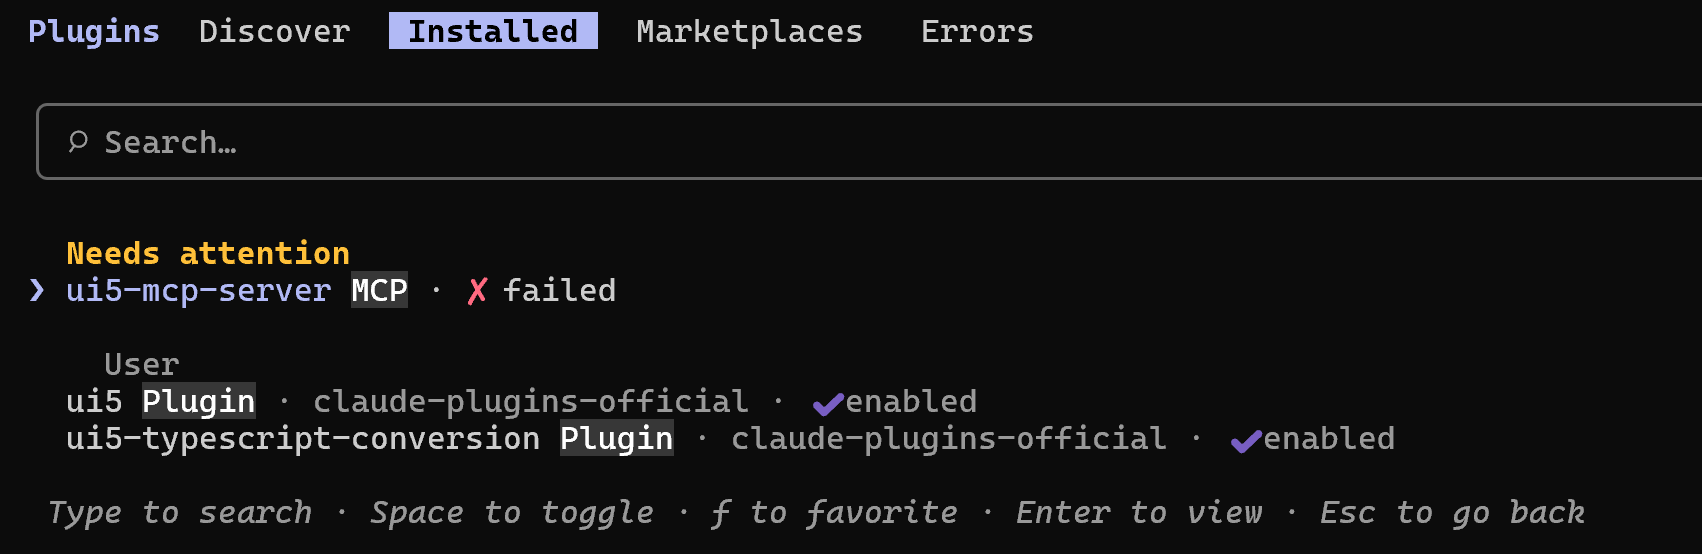
📝 If you restarted
claudebut the tools are still not listed, the MCP server process may have failed to start. Type/plugins, search for ui5, and click Reconnect.
1.5 Confirm grounding works
💡 Task: Ask Claude Code:
What's the latest version of OpenUI5?Watch it call the
get_version_infotool to look up the latest OpenUI5 release.
📝 First tool call: the permission prompt. The first time Claude Code runs a given tool (here a UI5 MCP server tool), it asks for your permission, offering roughly: allow once, allow and don’t ask again for this tool, or reject. This is the same “you approve what the agent does” control as the folder-trust prompt. The UI5 MCP tools (
get_version_info,get_api_reference,run_ui5_linter,run_manifest_validation, …) are read-only lookups and validators, so choosing allow and don’t ask again for them is safe and spares you a prompt on every call through the rest of the tutorial. You can review or change these choices later with/permissions.
Verify
claude --versionprints a version number.claudelaunches and authenticates without errors.- The UI5 MCP server tools are listed when you ask.
- Claude Code returns UI5 version info from the UI5 MCP server.
Summary
You now have a grounded UI5 coding agent. In Step 2 you’ll put it to work scaffolding and enhancing a real OpenUI5 application.
Next: Step 2: Create & enhance a new OpenUI5 application in JavaScript