tutorials
Step 3: Create Property Binding
Although there is no visible difference, the text on the screen is now derived from model data.
Preview
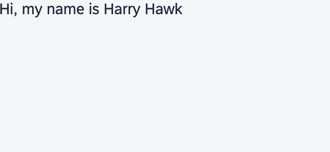
You can view this step live: 🔗 Live Preview of Step 3.
Coding
You can download the solution for this step here: 📥 Download step 3 (TS)📥 Download step 3 (JS).
Folder structure for this step
webapp/
├── model/
│   └── data.json
├── view/
│   └── App.view.xml
├── Component.ts/.js
├── index.html
└── manifest.json
Assign the text property of the sap.m.Text control to the value {/greetingText}. The curly brackets enclosing a binding path (binding syntax) are automatically interpreted as a binding. These binding instances are called property bindings. In this scenario, the control’s text property is bound to the greetingText property at the root of the default model. The slash (/) at the beginning of the binding path signifies an absolute binding path.
webapp/view/App.view.xml
<mvc:View
    xmlns="sap.m"
    xmlns:mvc="sap.ui.core.mvc">
    <Text text="{/greetingText}"/>
</mvc:View>
Next: Step 4: Two-Way Data Binding
Previous: Step 2: Creating a Model
Related Information